

 Authenticate
 Manage Users
 Customize
 Auth0 AI
 Platform
Before you register any APIs in the Auth0 Dashboard, one API will already exist: the Auth0 Management API. To learn more about the features of the Management API and its available endpoints, see Management API.
- Go to Dashboard > Applications > APIs, and select + Create API.
-
Provide the following information for your API, and click Create:
-
Make the implementation changes to your API that are described in the QuickStart. These changes consist of choosing a JWT library from a predefined list and configuring this library to validate the access tokens in your API.
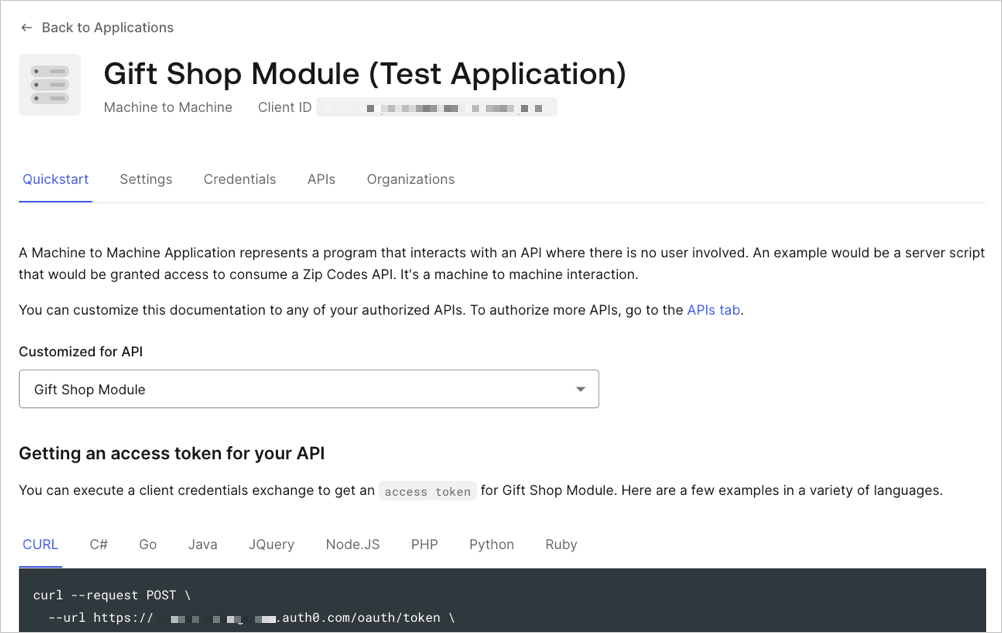
- Settings: Lists the settings for your API. Some are editable. Here you can change the token expiration time and enable offline access (this way Auth0 will allow your applications to ask for for this API).
- Scopes: Define the scopes for this API by setting a name and a description.
- Machine to Machine Applications: Lists all applications for which the Client Credentials grant is enabled. By default, this grant is enabled for regular web applications and machine-to-machine applications. You can authorize any of these applications to request for your API. Optionally, you can select a subset of the defined scopes to limit your authorized application’s access.
- Test: Execute a sample client credentials flow with any of your authorized applications to check that everything is working as expected.